Bumble Bee Nail Art
This is a BEE-utiful spring or summer design. Brighten up your day with this fun and easy Bumble Bee nail art!
Polishes Used

Sally Hansen Xtreme Wear-White On
Jordana-Mellow Yellow
Sally Hansen Xtreme Wear-Black Out
Jordana-Mellow Yellow
Sally Hansen Xtreme Wear-Black Out
Step 1
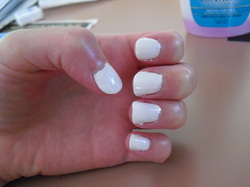
Because my yellow polish is sheer, I put a white "base coat" to make it opaque.
Step 2
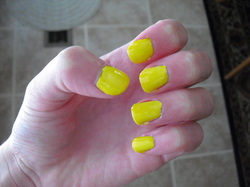
Apply a yellow polish to all of your nails.
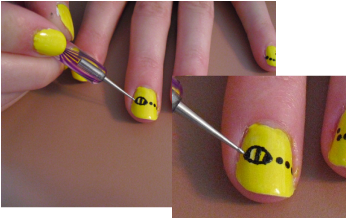
Step 3
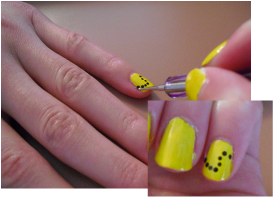
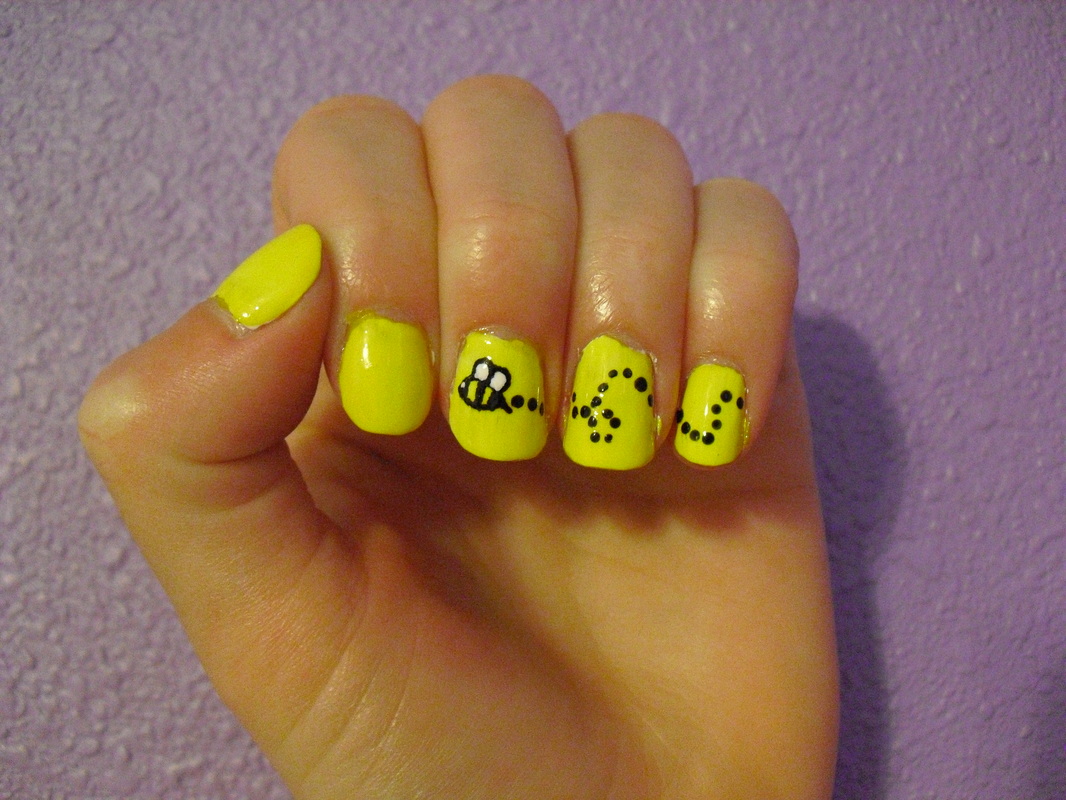
Start by using a dotting tool to make black dots as a trail from the bee. I started on my pinky.
Step 4
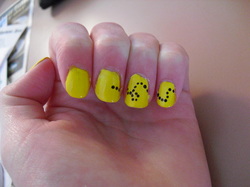
Continue the bee trail on your ring finger and then 3 dots on the right side of your middle finger.
Step 5

For the bee body, make a shape that looks like an eye.
Step 6
Give the bee three stripes.
Step 7

Create a small stinger for the bee.
Step 8
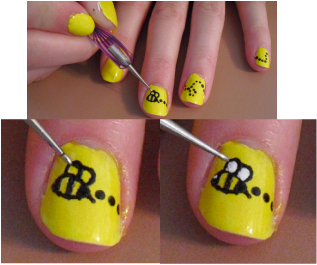
Make 2 wings on top of the bee. Then fill in the wings with a white polish. Last but not least, add a small white dot for an eye.
Step 9
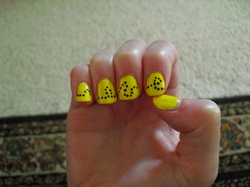
On your opposite hand make a longer trail for the bee. Only do this on your 4 fingers, not your thumb.
^Step 9^
You can continue the trail (what I did) OR make another trail and another bee.
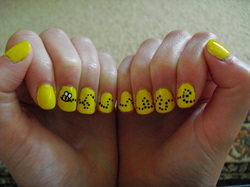
Finished!
Add a top coat to protect your design!
Happy Summer!
Made 6/21/12
